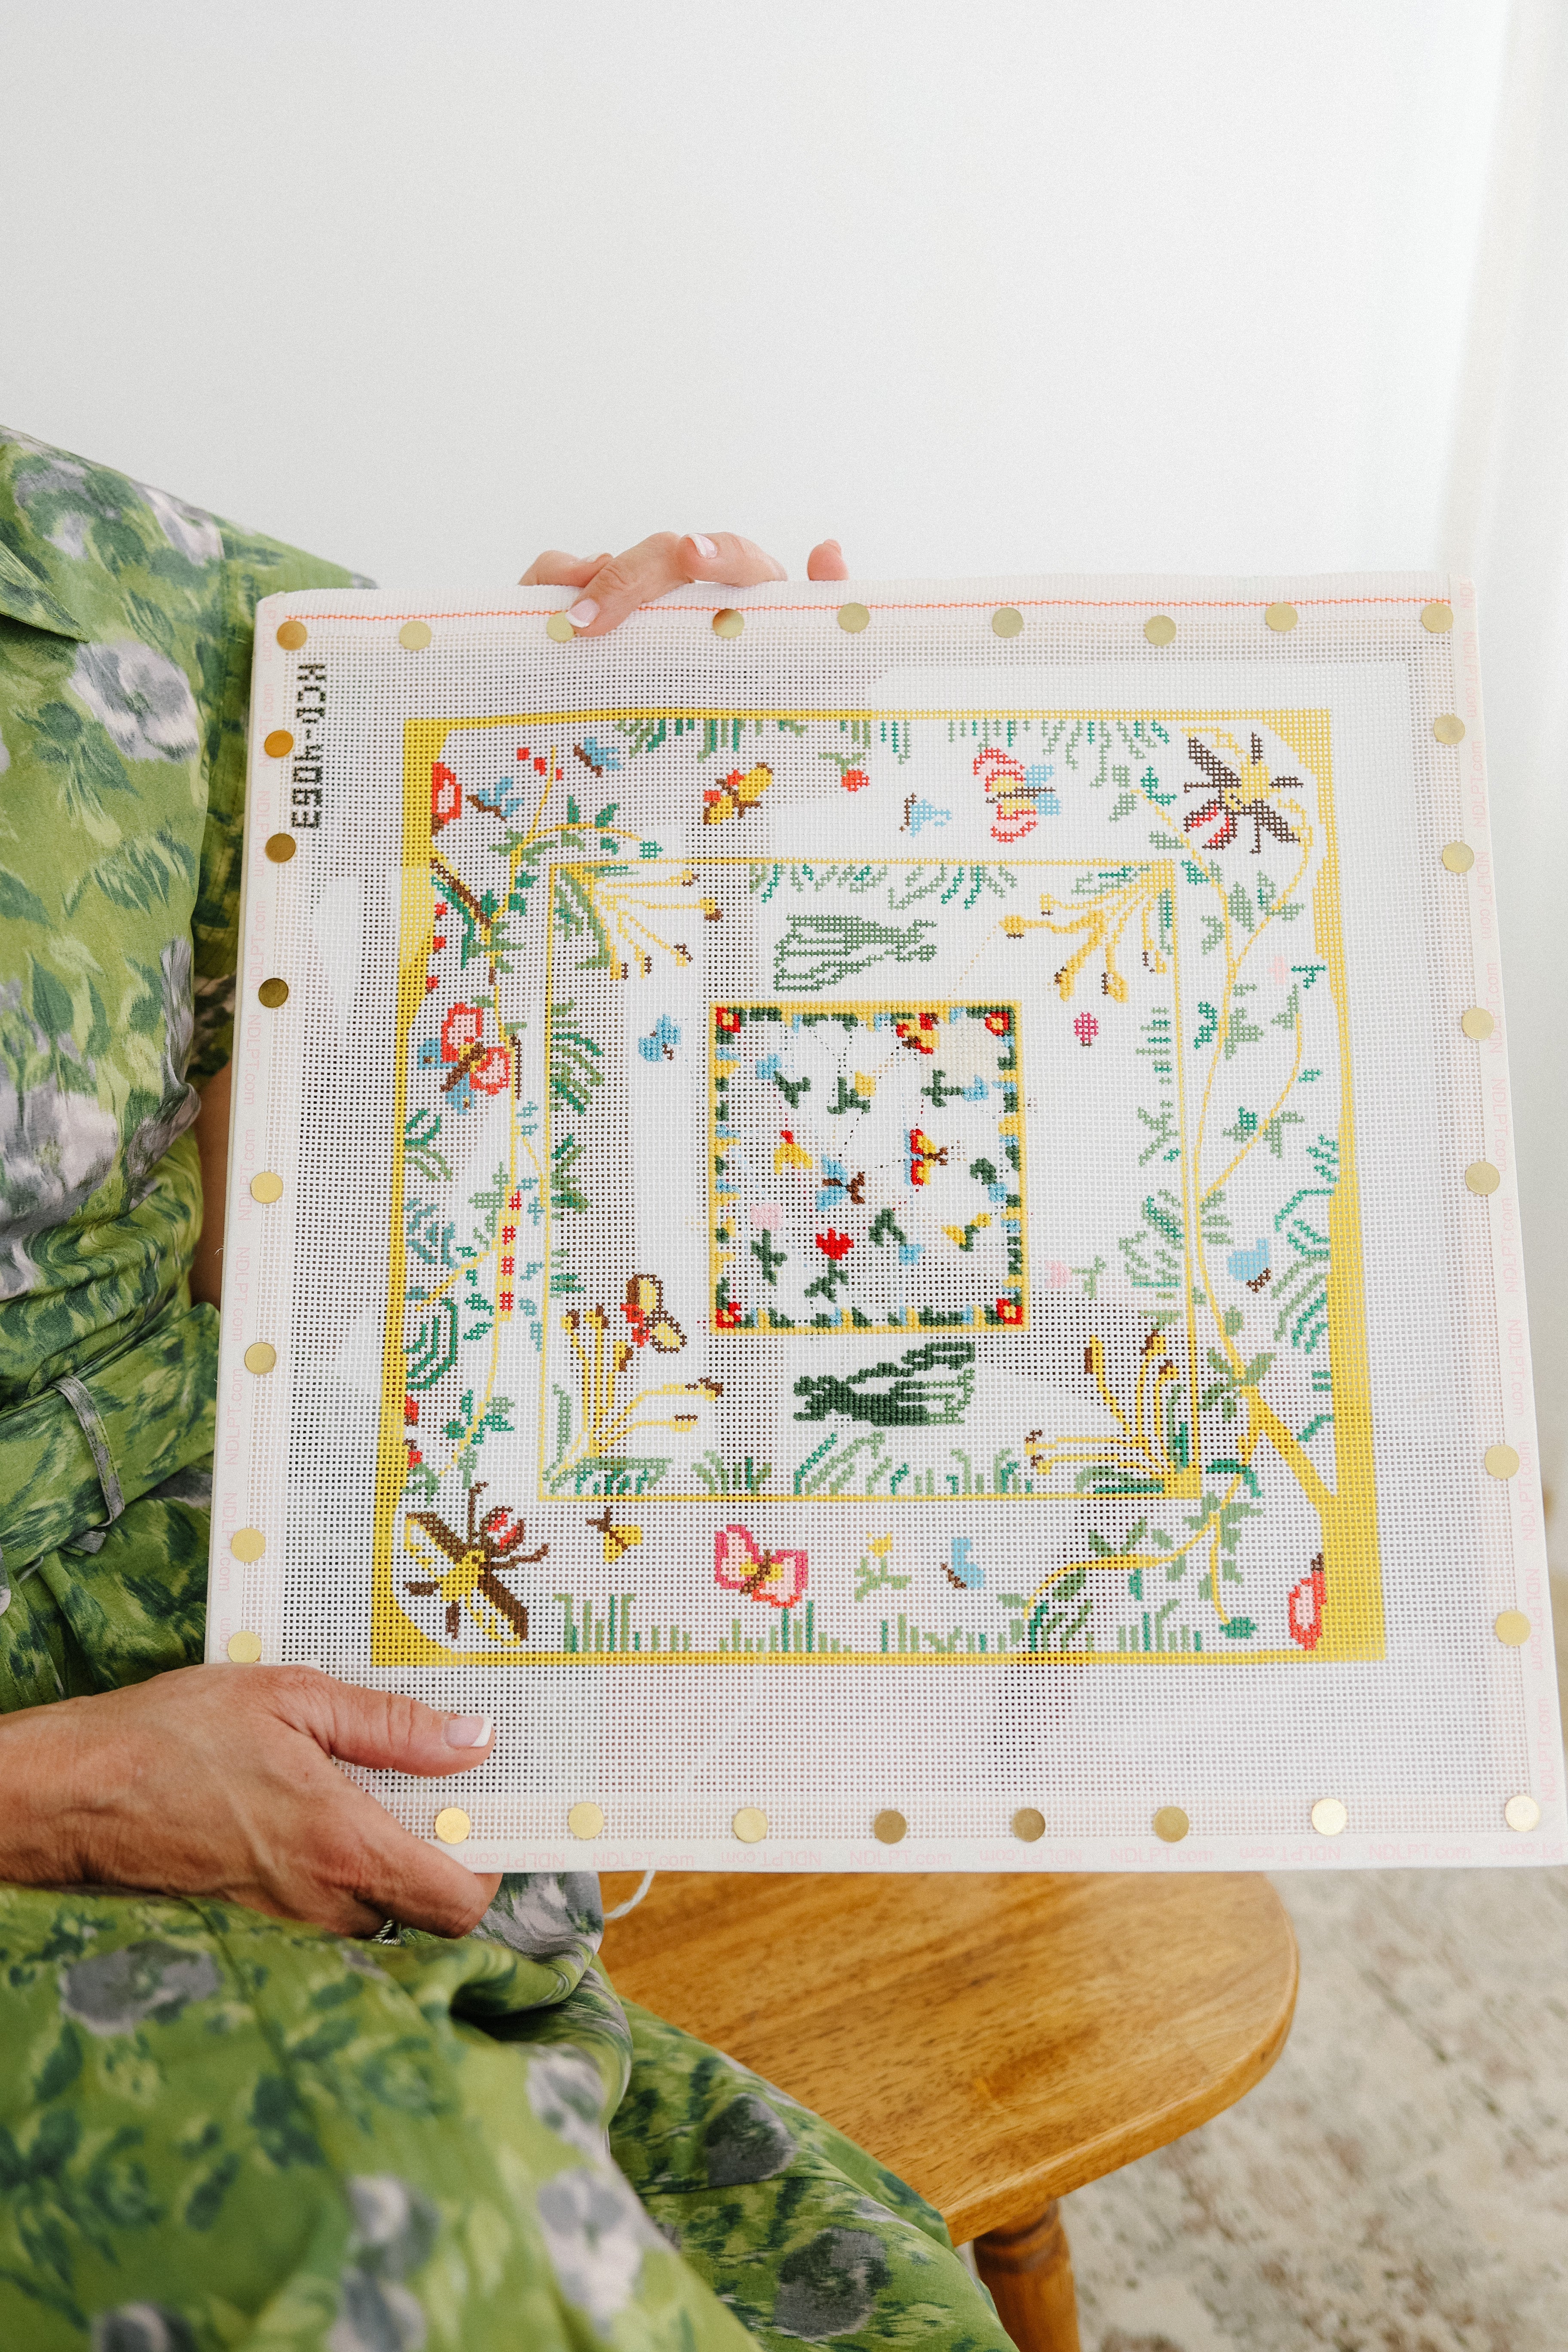
If you've ever struggled with an uneven needlepoint canvas or stitches that look wonky, stretcher bars can make all the difference. These simple yet essential tools keep your canvas taut, making stitching easier and ensuring a polished final piece. Whether you're a beginner or an experienced stitcher, using stretcher bars can improve your technique and help prevent hand fatigue. Here’s everything you need to know about why they’re a game-changer and how to use them for your next needlepoint project.
Why Use Stretcher Bars for Needlepoint?
Using stretcher bars offers several benefits that can enhance your stitching experience:
- Keeps Your Canvas Taut – A tight canvas provides even tension, which leads to cleaner, more consistent stitches.
- Prevents Warping – Over time, a loose canvas can warp, making it harder to frame or finish your project properly. Stretcher bars help maintain the canvas shape.
- Reduces Hand Strain – Holding a floppy canvas for hours can be tiring. A stretched canvas allows you to stitch more comfortably with less grip strain.
- Improves Stitch Accuracy – When the canvas is secure, decorative stitches, basketweave, and tent stitches lay smoother and more evenly.
How to Set Up Your Stretcher Bars
Setting up stretcher bars for needlepoint is simple and only takes a few minutes. Follow these steps to ensure your canvas is properly secured:
1. Choose the Right Size
Stretcher bars come in various lengths, typically ranging from 5 to 24 inches. Select bars that match the dimensions of your canvas. If your canvas is 8" x 10", you'll need an 8-inch pair and a 10-inch pair to form the frame.
2. Assemble the Frame
Stretcher bars are designed to fit together at the corners. Simply slide the notched ends into each other to form a square or rectangle. Push firmly until they lock into place.
3. Attach Your Needlepoint Canvas
Lay your canvas over the assembled frame. Using thumbtacks, staple gun, or stainless steel tacks, secure the edges of the canvas to the stretcher bars. Start in the center of each side and work outward, making sure the fabric stays evenly stretched. Be careful not to over-tighten, as this can distort the canvas grid.
4. Start Stitching!
With your canvas securely in place, you’ll immediately notice how much easier it is to stitch. Your needle will glide through the fabric without unnecessary movement, helping you maintain even tension and produce a beautiful, professional-looking piece.
Tips for Using Stretcher Bars
- If your canvas starts to loosen, you can re-tighten it by adjusting the tacks or misting the fabric lightly with water.
- Consider using a frame stand or lap stand to free up your hands while stitching.
- Store your needlepoint project on the stretcher bars when not in use to maintain the tension.
Where to Buy Stretcher Bars for Needlepoint
You can find stretcher bars at most local needlepoint shops or online. Look for high-quality wooden stretcher bars that fit snugly without gaps. Many brands offer interlocking stretcher bars that are easy to assemble and durable for long-term use.
Shop our stretcher bars here!
Final Thoughts
Using stretcher bars can transform your needlepoint experience by making stitching easier, improving the quality of your work, and reducing hand fatigue. If you're new to needlepoint or looking to refine your technique, investing in a set of stretcher bars is a simple yet effective way to elevate your craft.


Share:
Thread Talk: How to Choose the Best Needlepoint Threads
Designer Spotlight: Threaded & Tipsy